Post 2: Restoring a Hanseatic 19.2
Starting the the floor
The first post in this series was rather destructive. The floor was torn out, and the deck trim was prised off. This post is more constructive, and covers the first few steps of building a new floor.
Fortunately, it was possible to save enough of the original floor to use as a template.
Working in this way was much simpler than trying to measure out the awkwardly curved inner
profile of the hull! Notice that in the following picture, the floor is in two pieces.
This is because the floor wouldn’t fit through the benches as a whole, and so had to be cut.
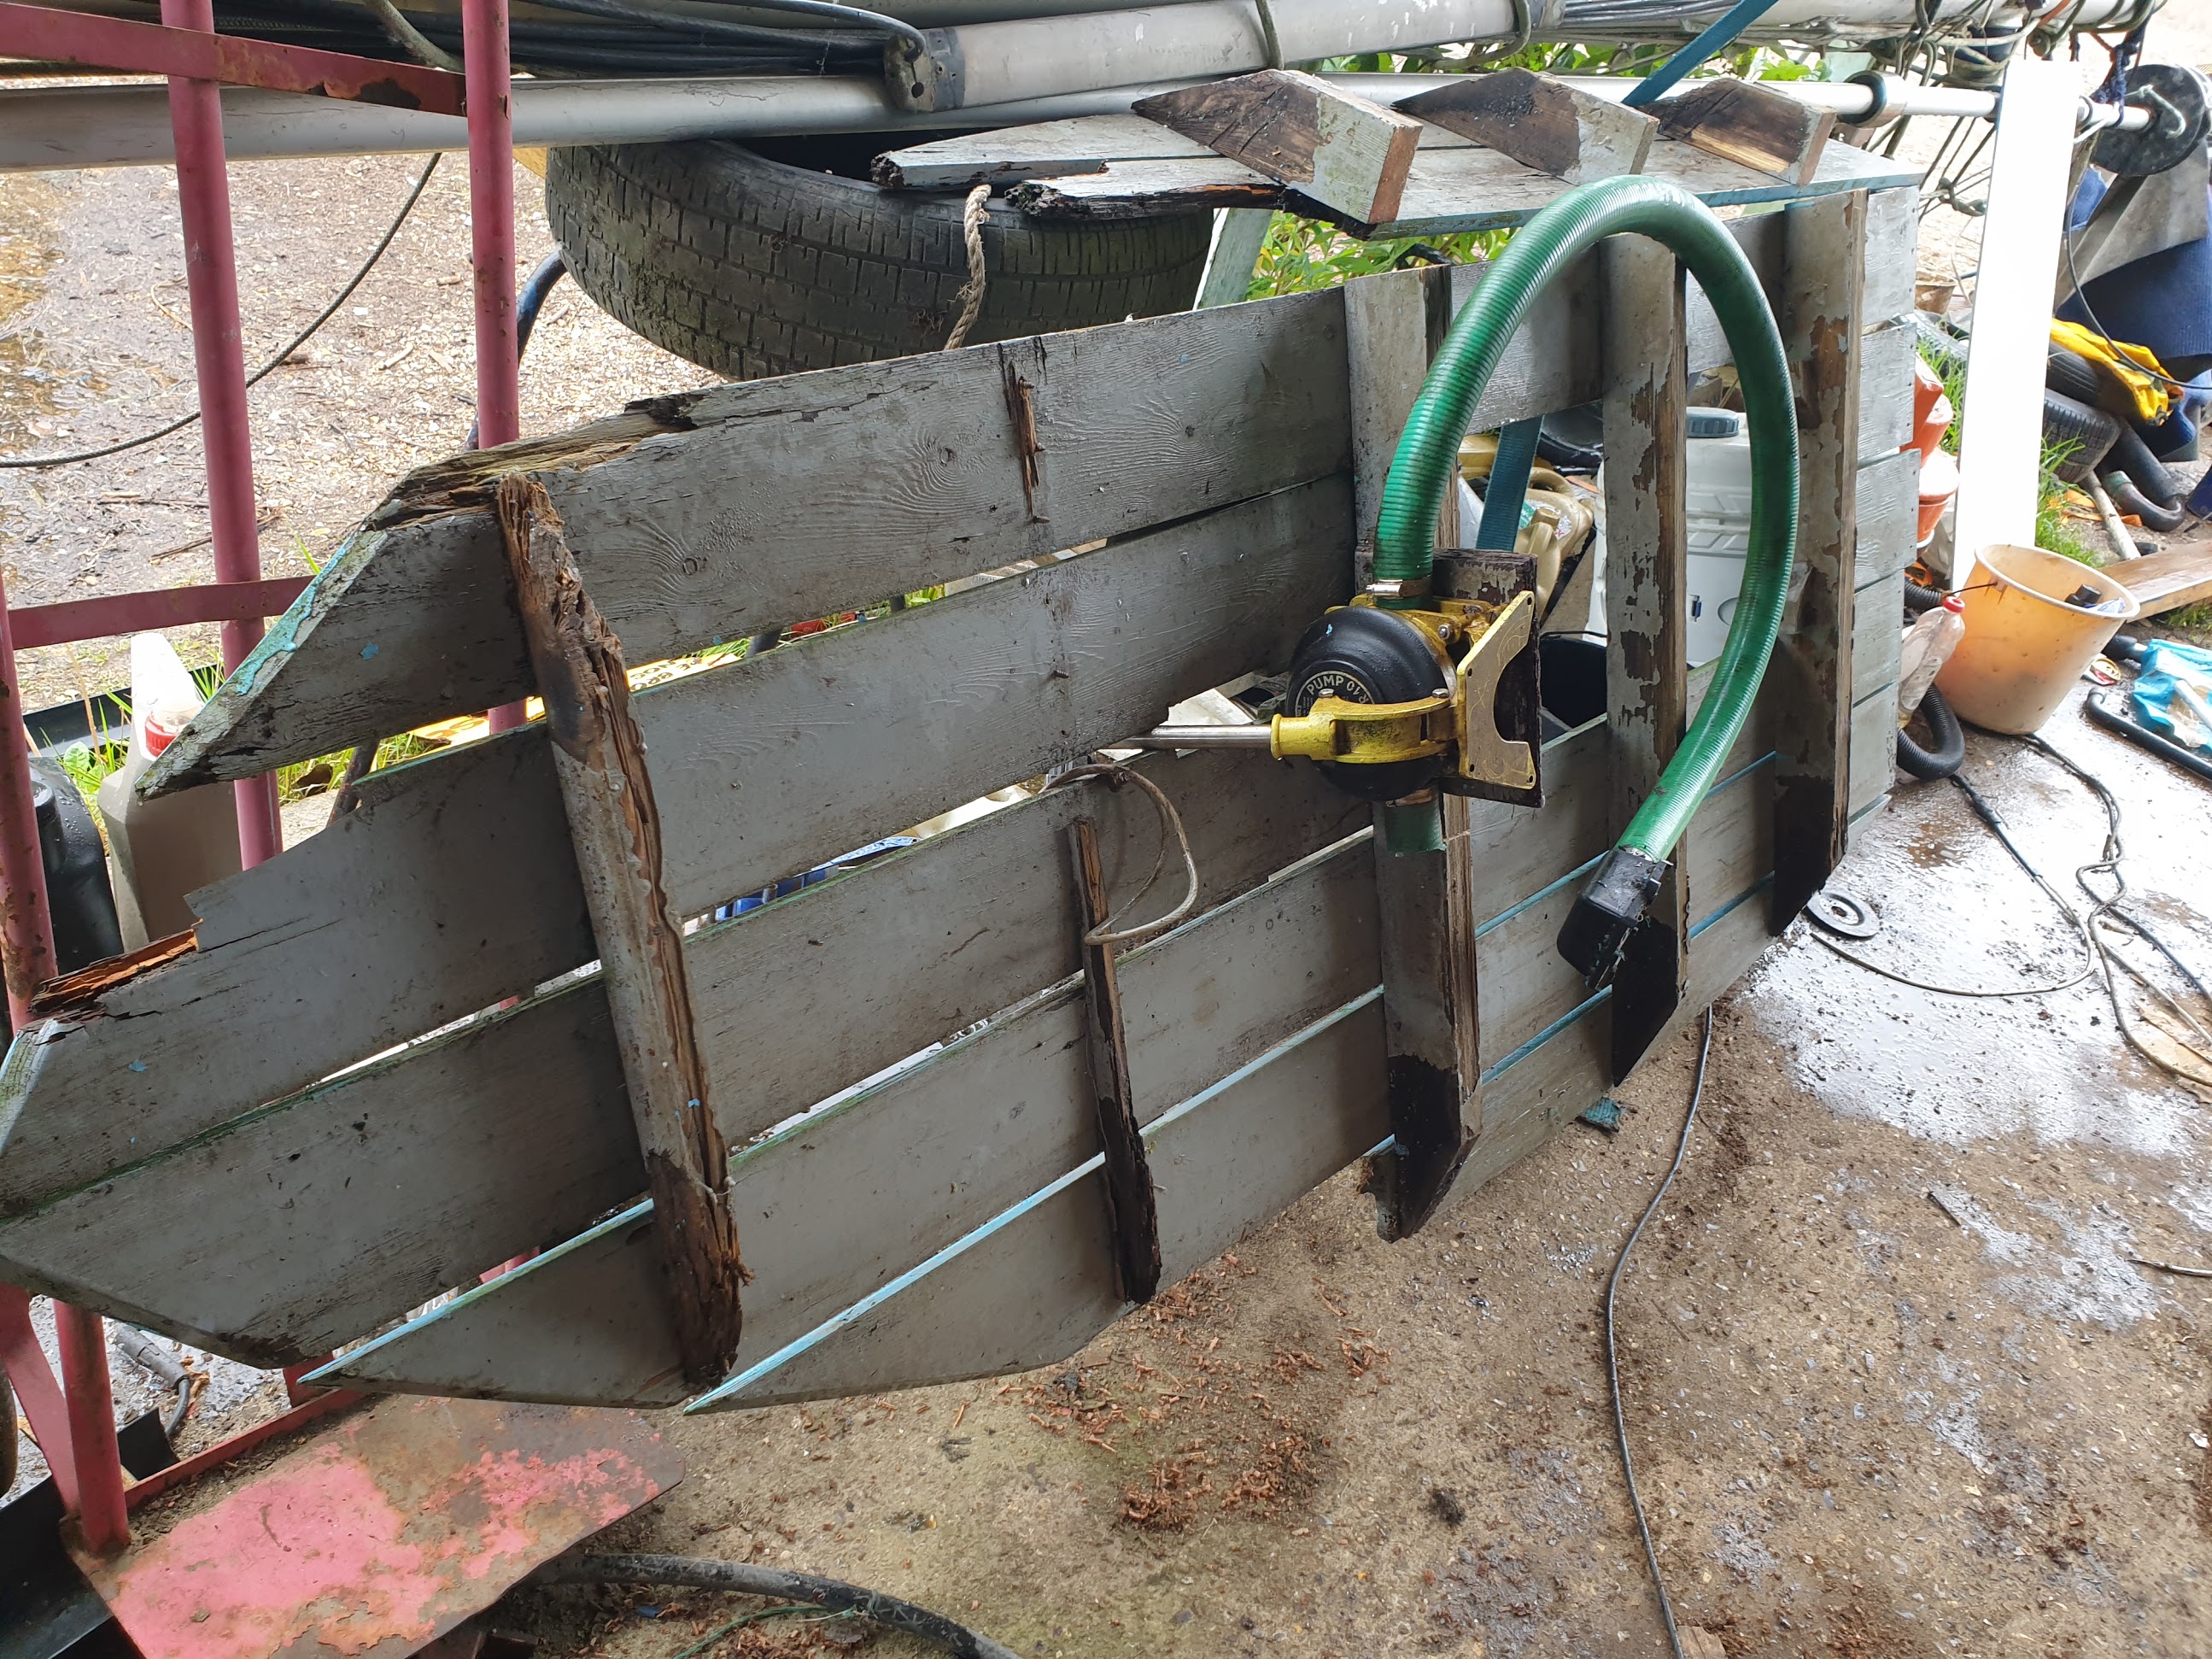
The original planked floor had a certain appeal, but re-building these would have been quite a fuss.
(and the required wood wasn’t readily available…).
For the new floor, I was fortunately able to source a large plyboard of just the right size. I was able to trace the old floor on top and use a jigsaw to cut it out.
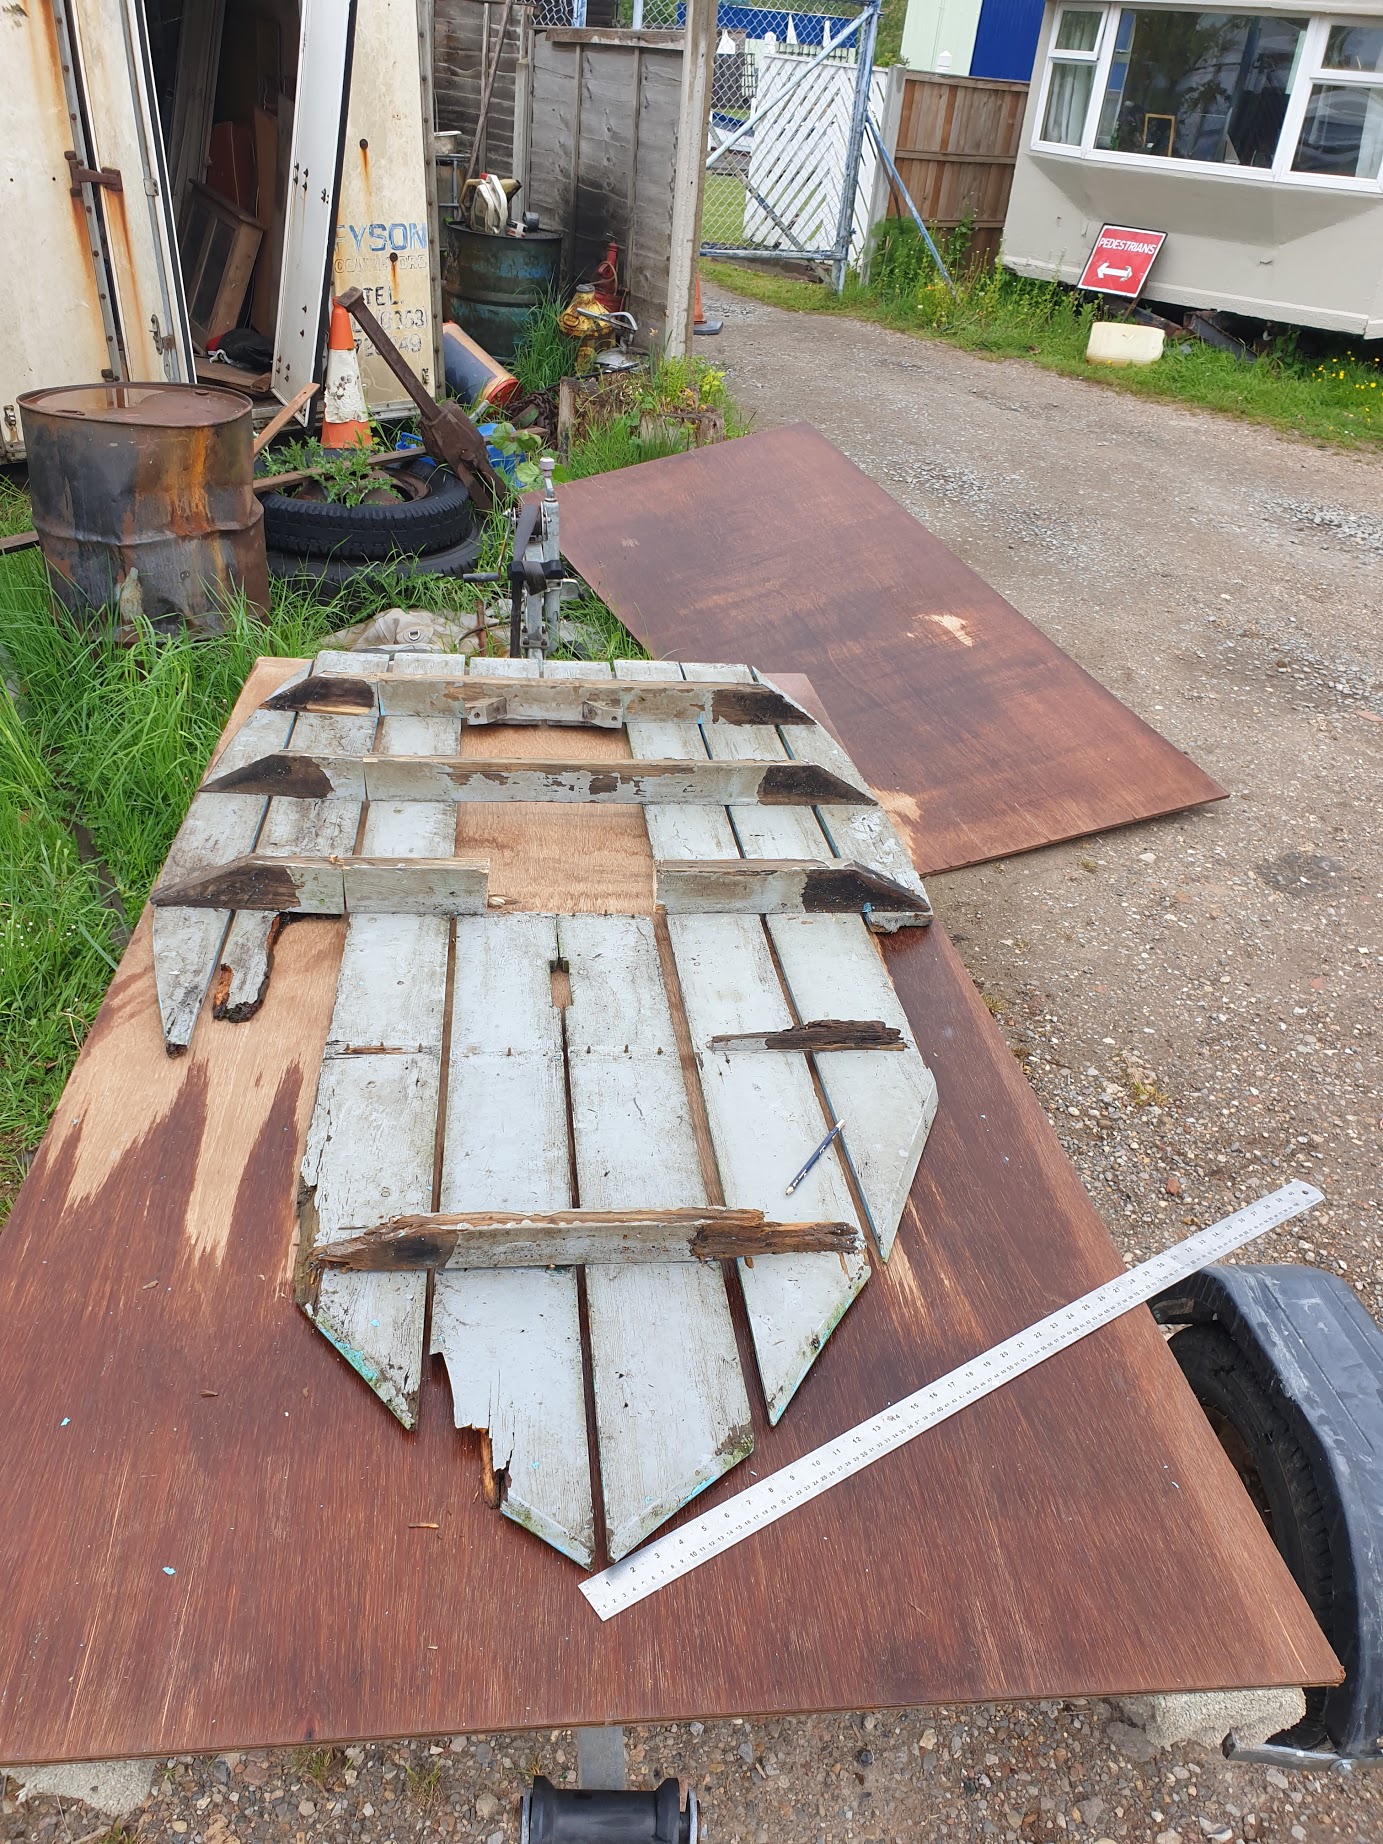
For the floor supports, I similarly sourced, templated, and cut out some crossbeams.
I cut them a little longer so that could sand them carefully down to fit the hull snugly.
 The new beams were slightly thicker than the old ones, meaning the fibreglass hull mounts would need cutting out and re-glassing.
One slightly unexpected detour was that the single piece of ply would not fit into the boat as a single whole, and so had to be carefully cut in half with the circular saw before it could be laid
down on the cross beams!
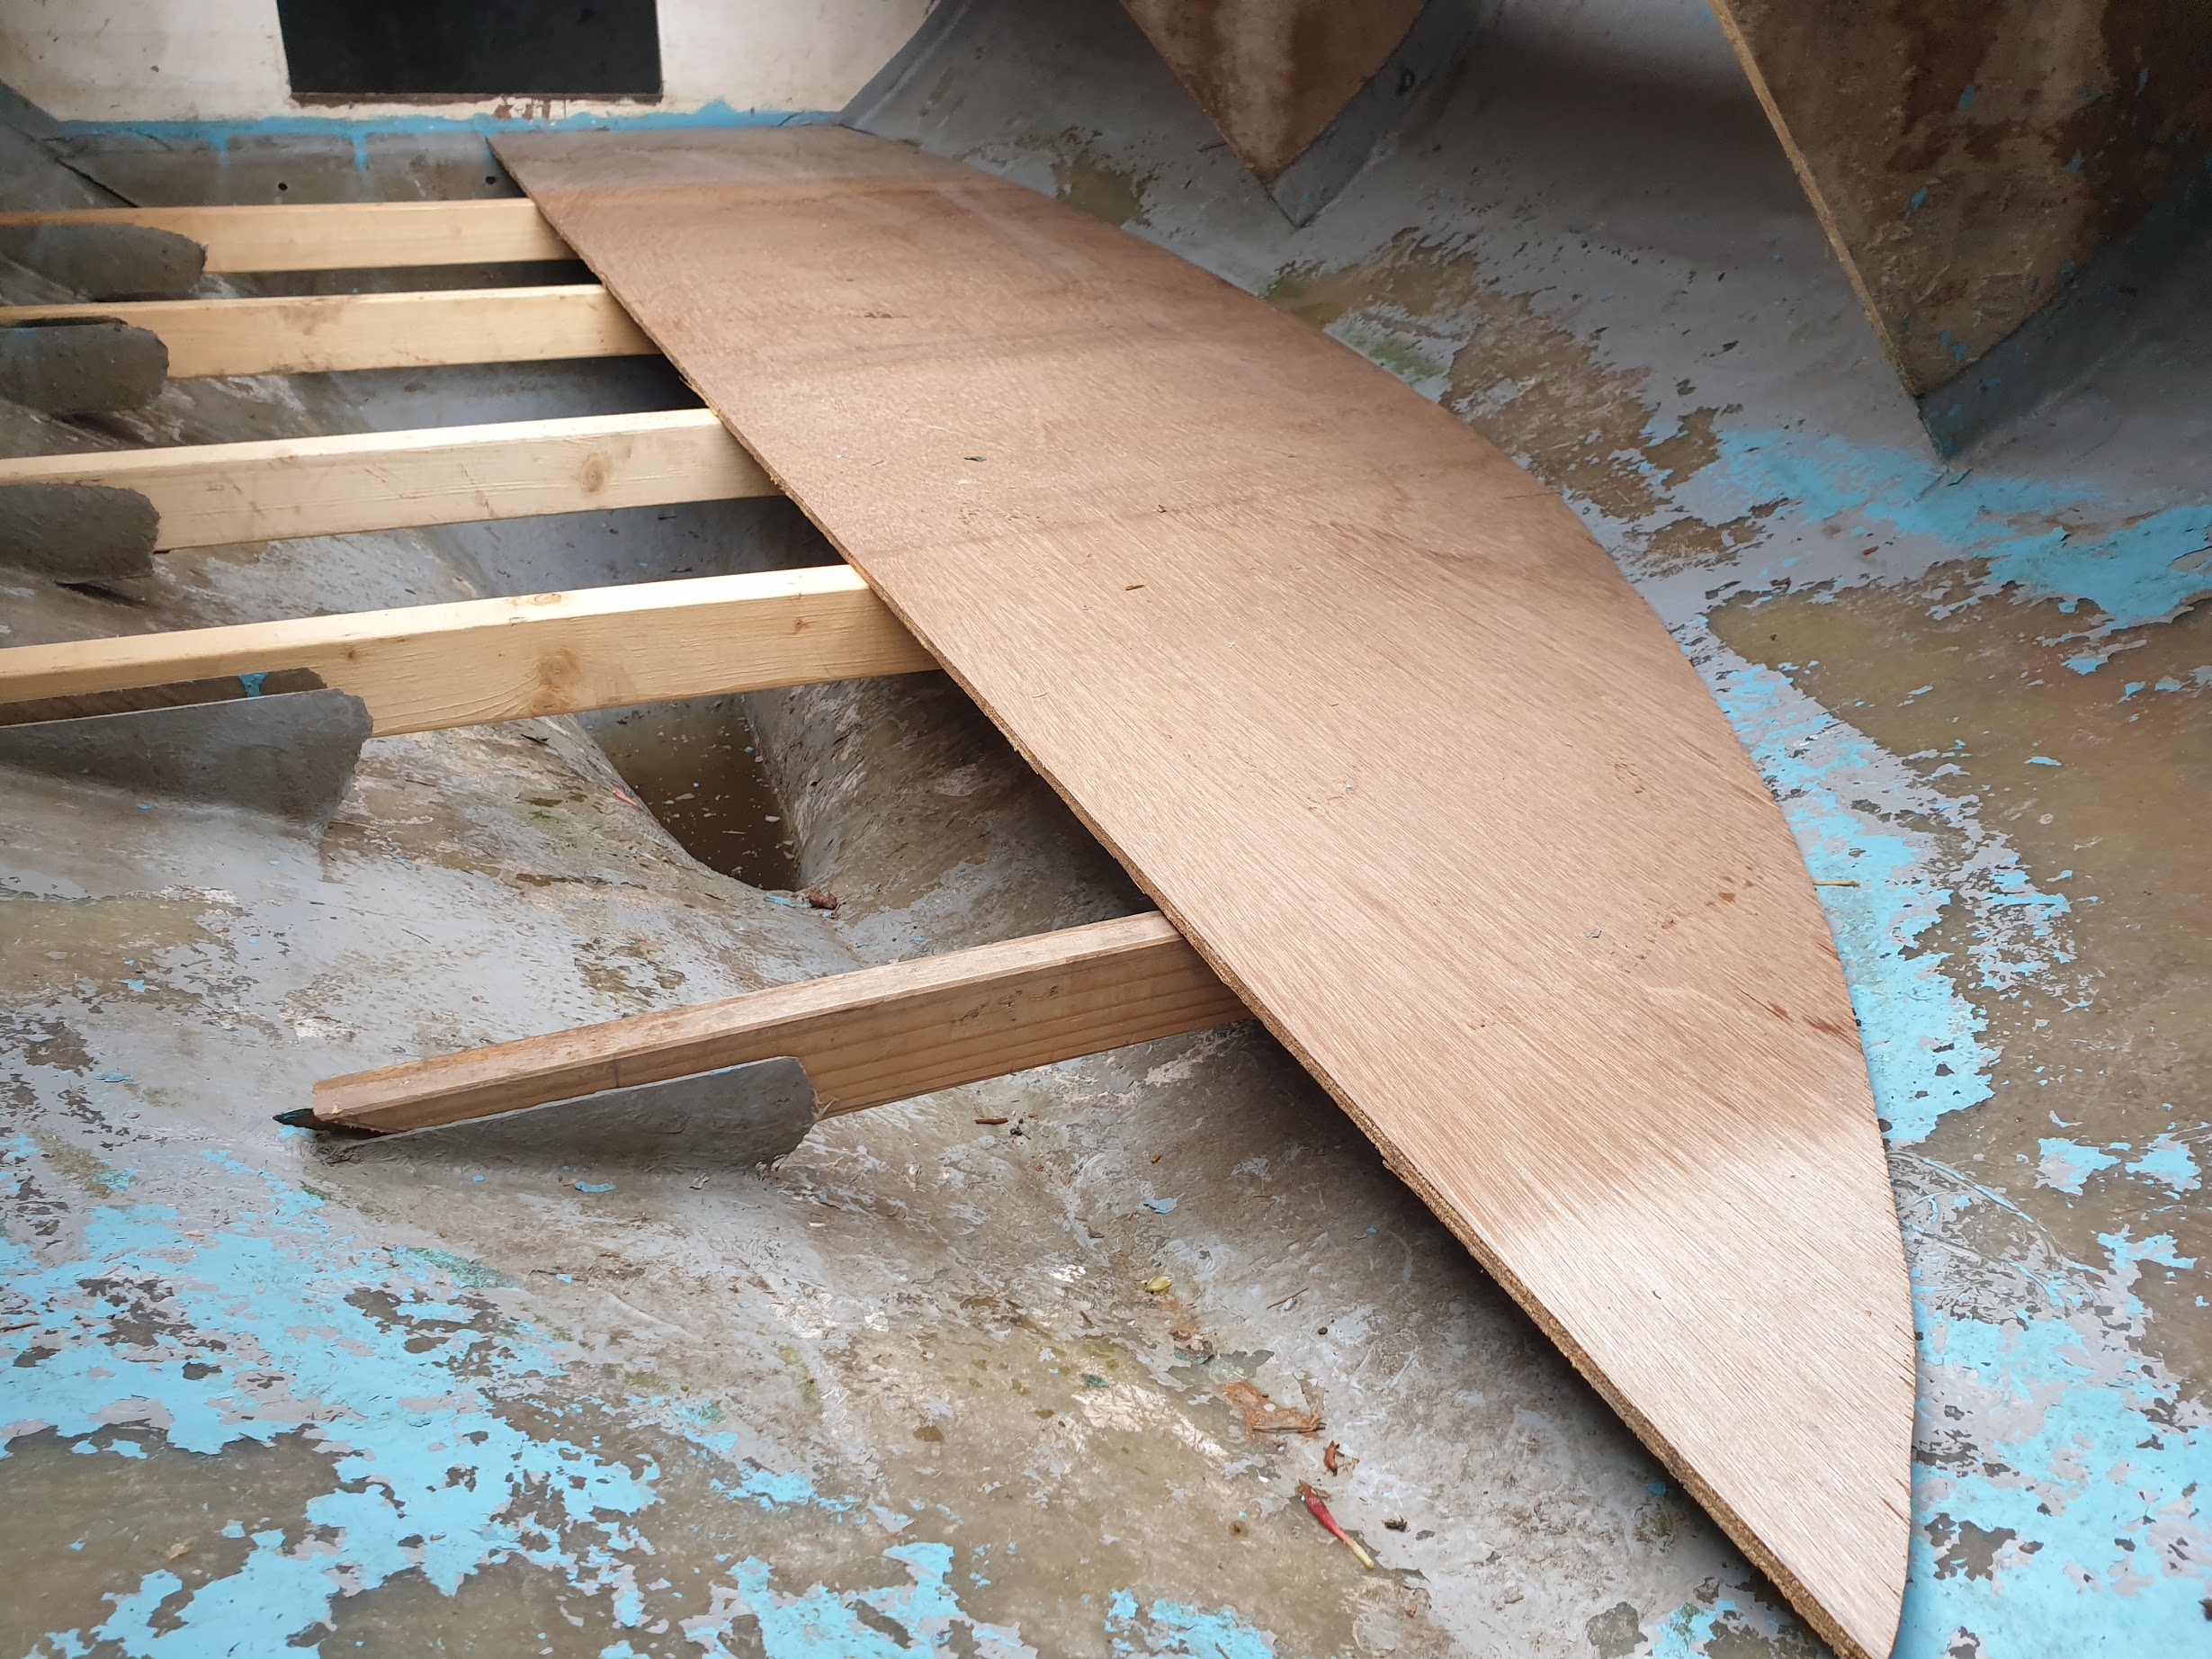
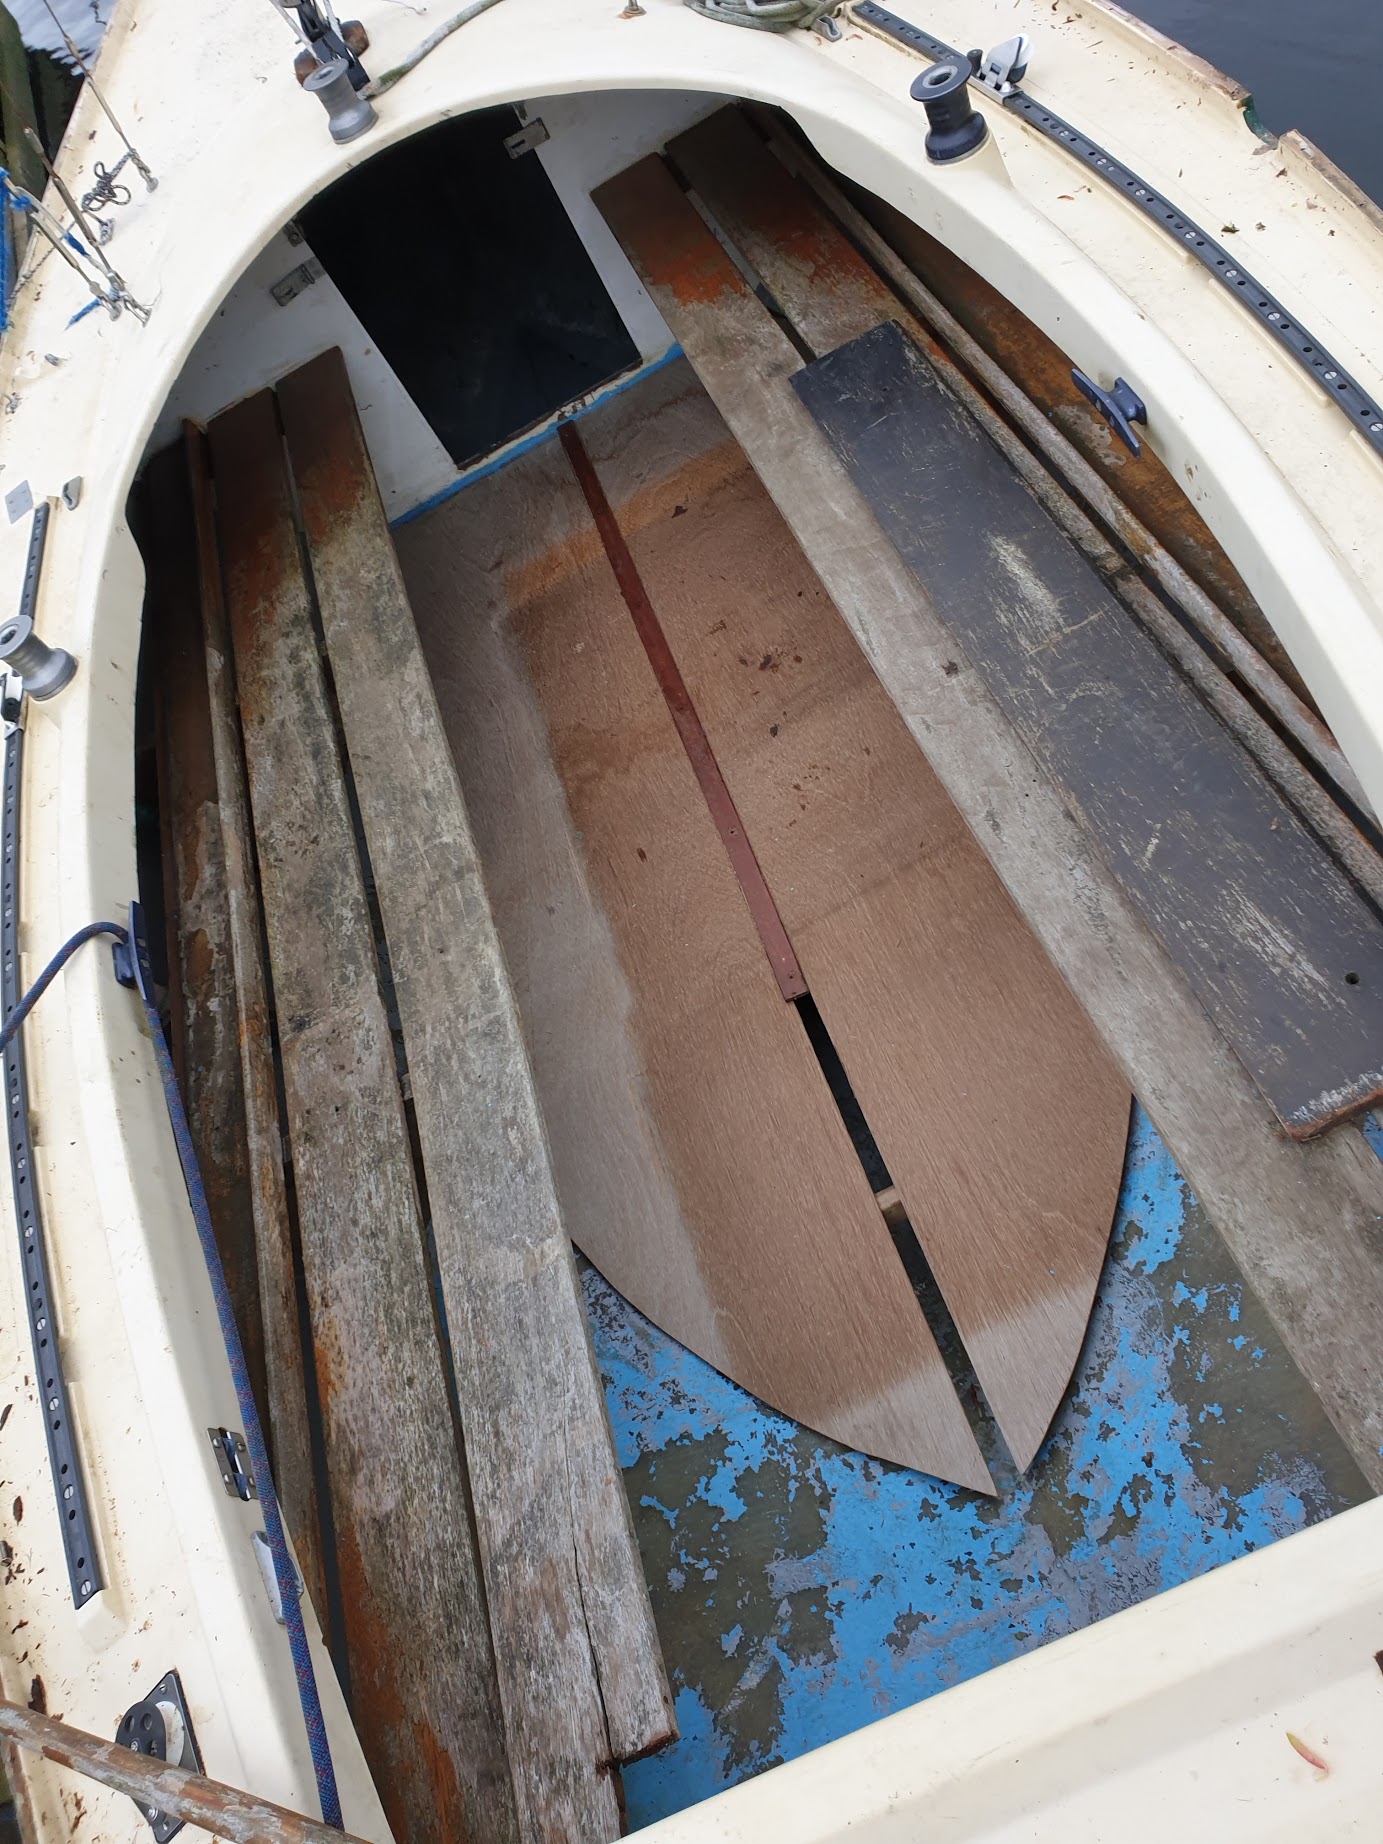 In these pictures, the first test of dropping in the floor is conducted, and the results look
promising! The center piece here was placed as an experiment whilst thinking about how to smooth over the join.
Of course, with the new flat floor, it would no longer be possible to rig the mainsheet through a wire on the floor, and the bilge pump would need moving. Also, the new floor is much lighter than the old, and so rigging the mainsheet to it without significant support would probably not be a good idea.
Finally, the old floor used to have a service hatch to allow access to the keel, for bailing… and retrieving dropped items. The original idea was to rigidly affix the two floor “halves” down to the cross beams, and add a small service hatch (I even made one up). However the result didn’t look that convincing, so the new idea was to build up a two-part center-piece, consisting of a thin strut below a wider top piece. This would create a “key” for the two wooden panels to slot into. Later, the idea being, one of the panels could be screwed down rigidly, with the other having the ability to slide out for access purposes.
The first step for building this centerpiece was to cut some pieces with the circular saw, and then glue them.
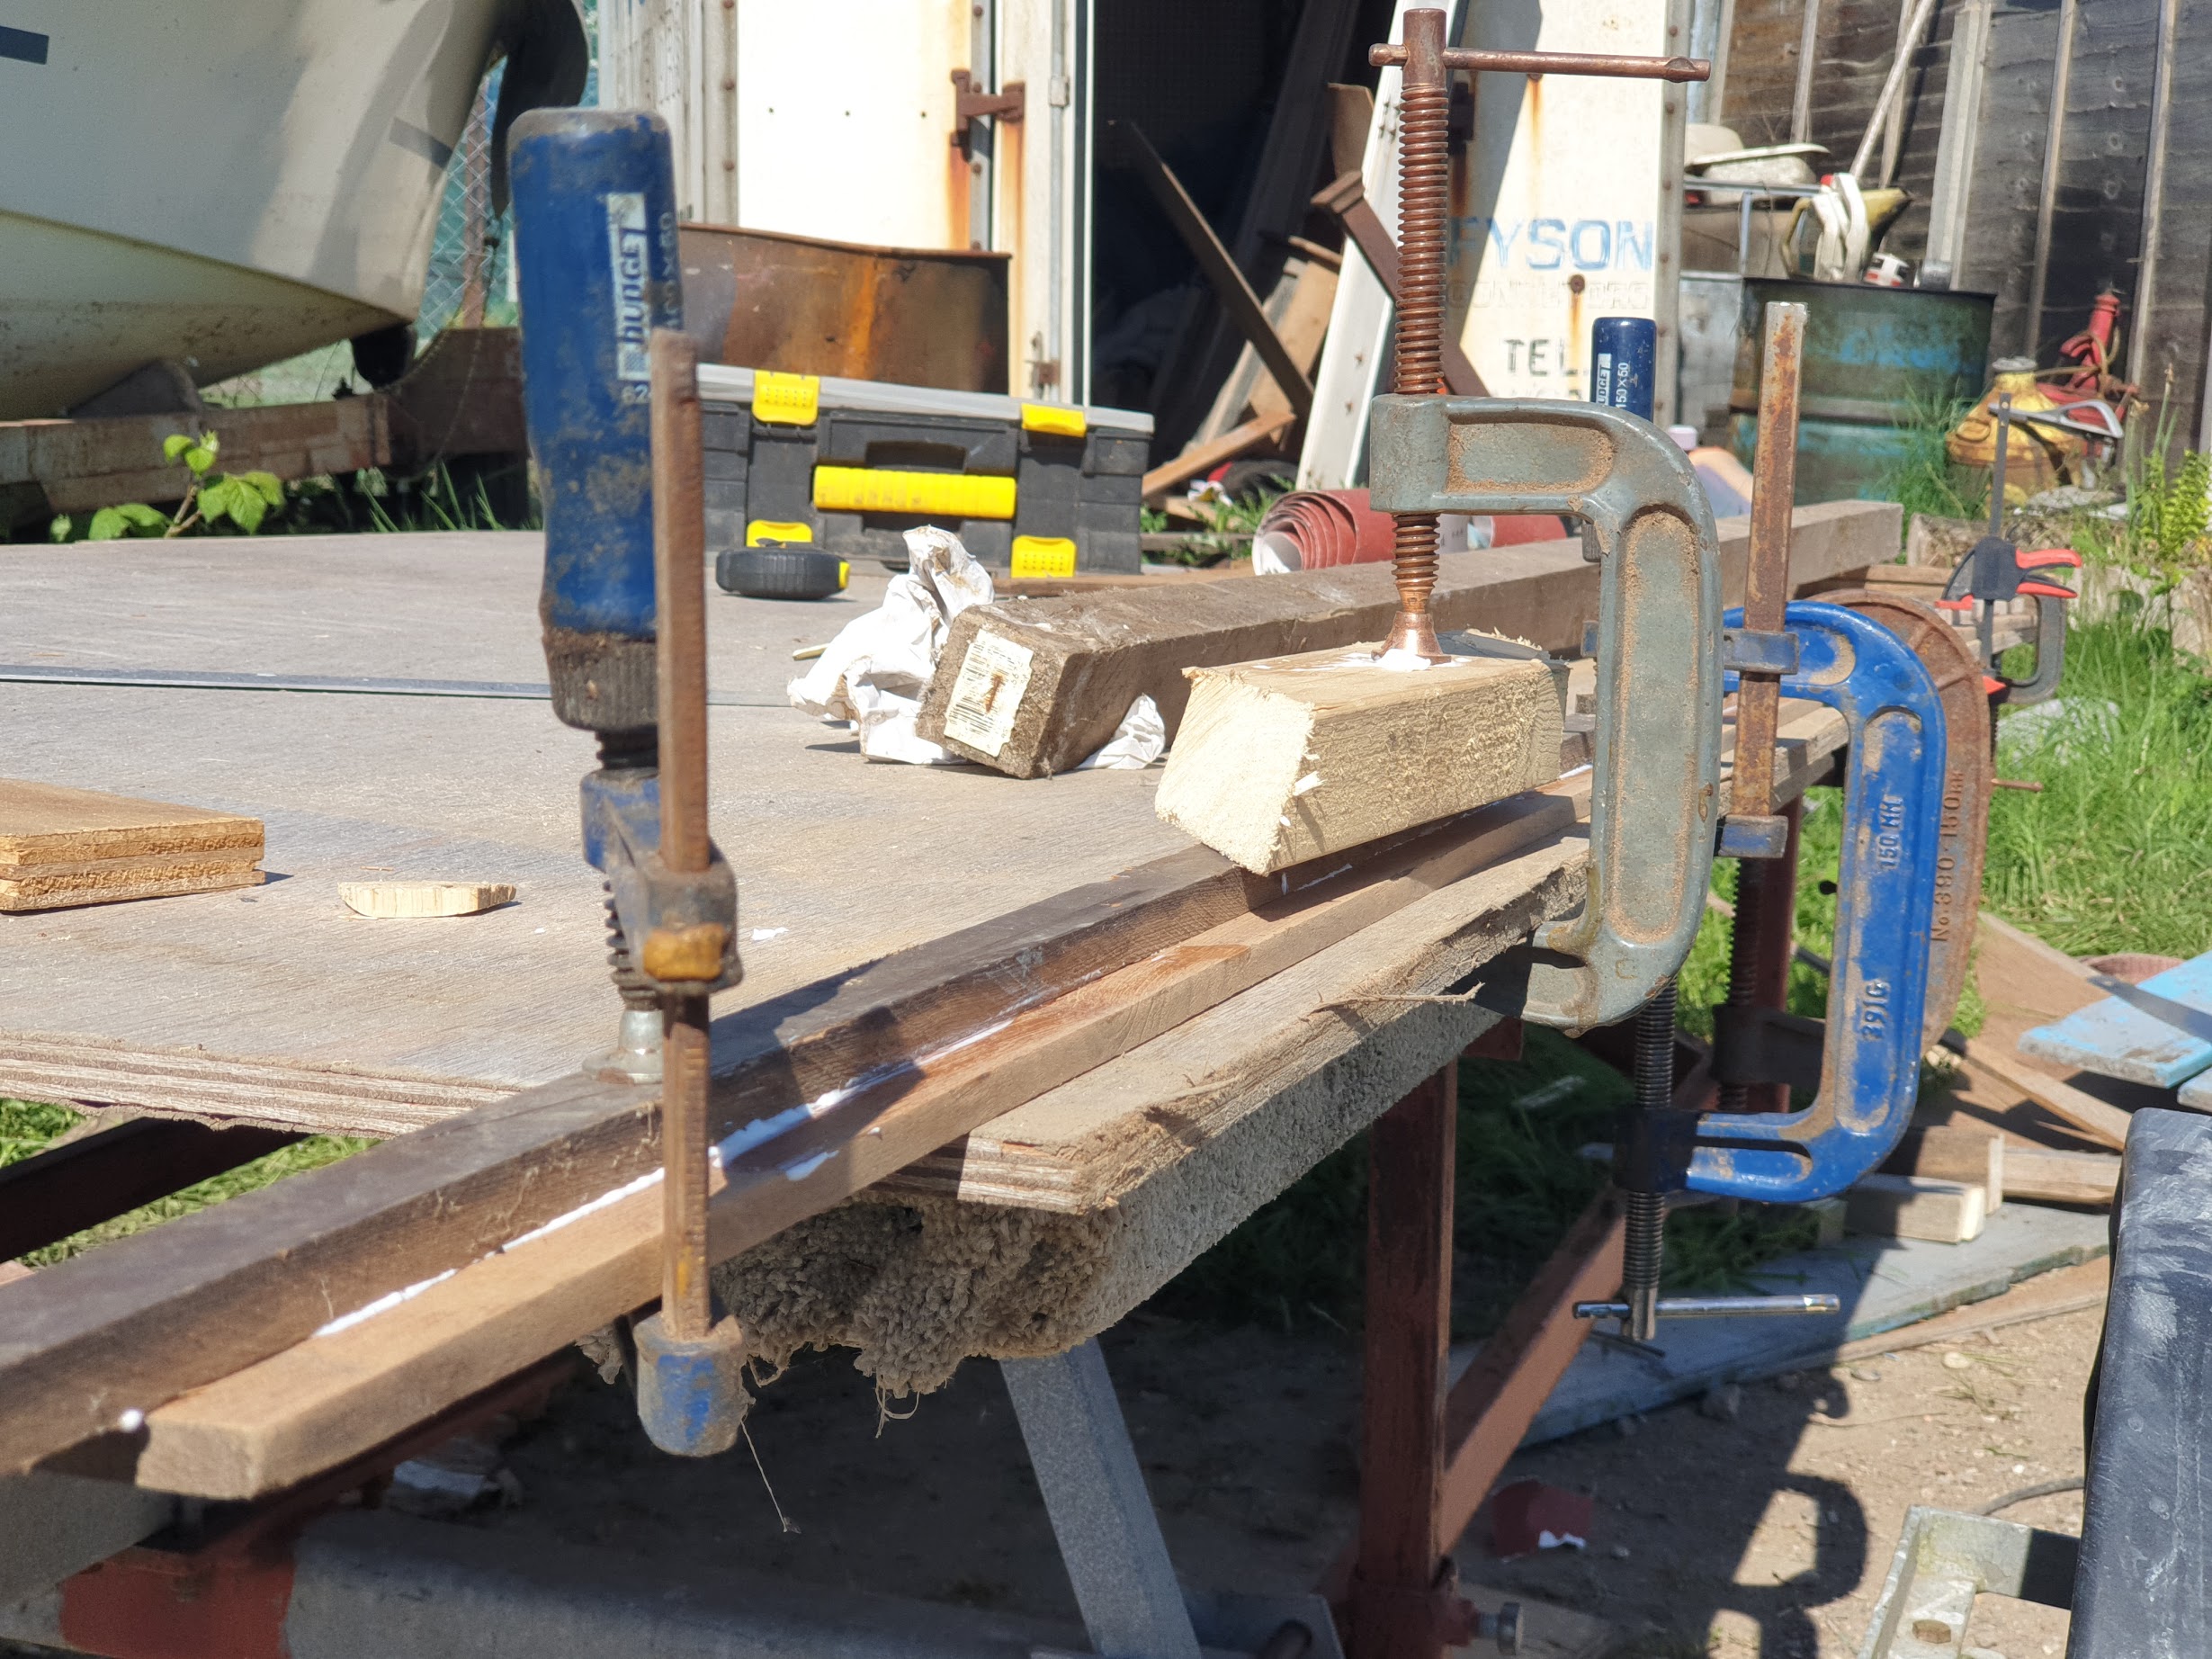
Whilst this was drying, I started to think about rigging the mainsheet. Asking around I got some tips to look at the rigging of the similar Yeoman and the J/22 boats. Both of these appear to the main rigged to the center. I found a picture of a Yeoman with a central metal strut to hold a swivelling pulley, and the J/22 has a central metal track with the main attached directly from this to the boom.
This left me thinking about adding a support between the two benches to support a swivel, or a track
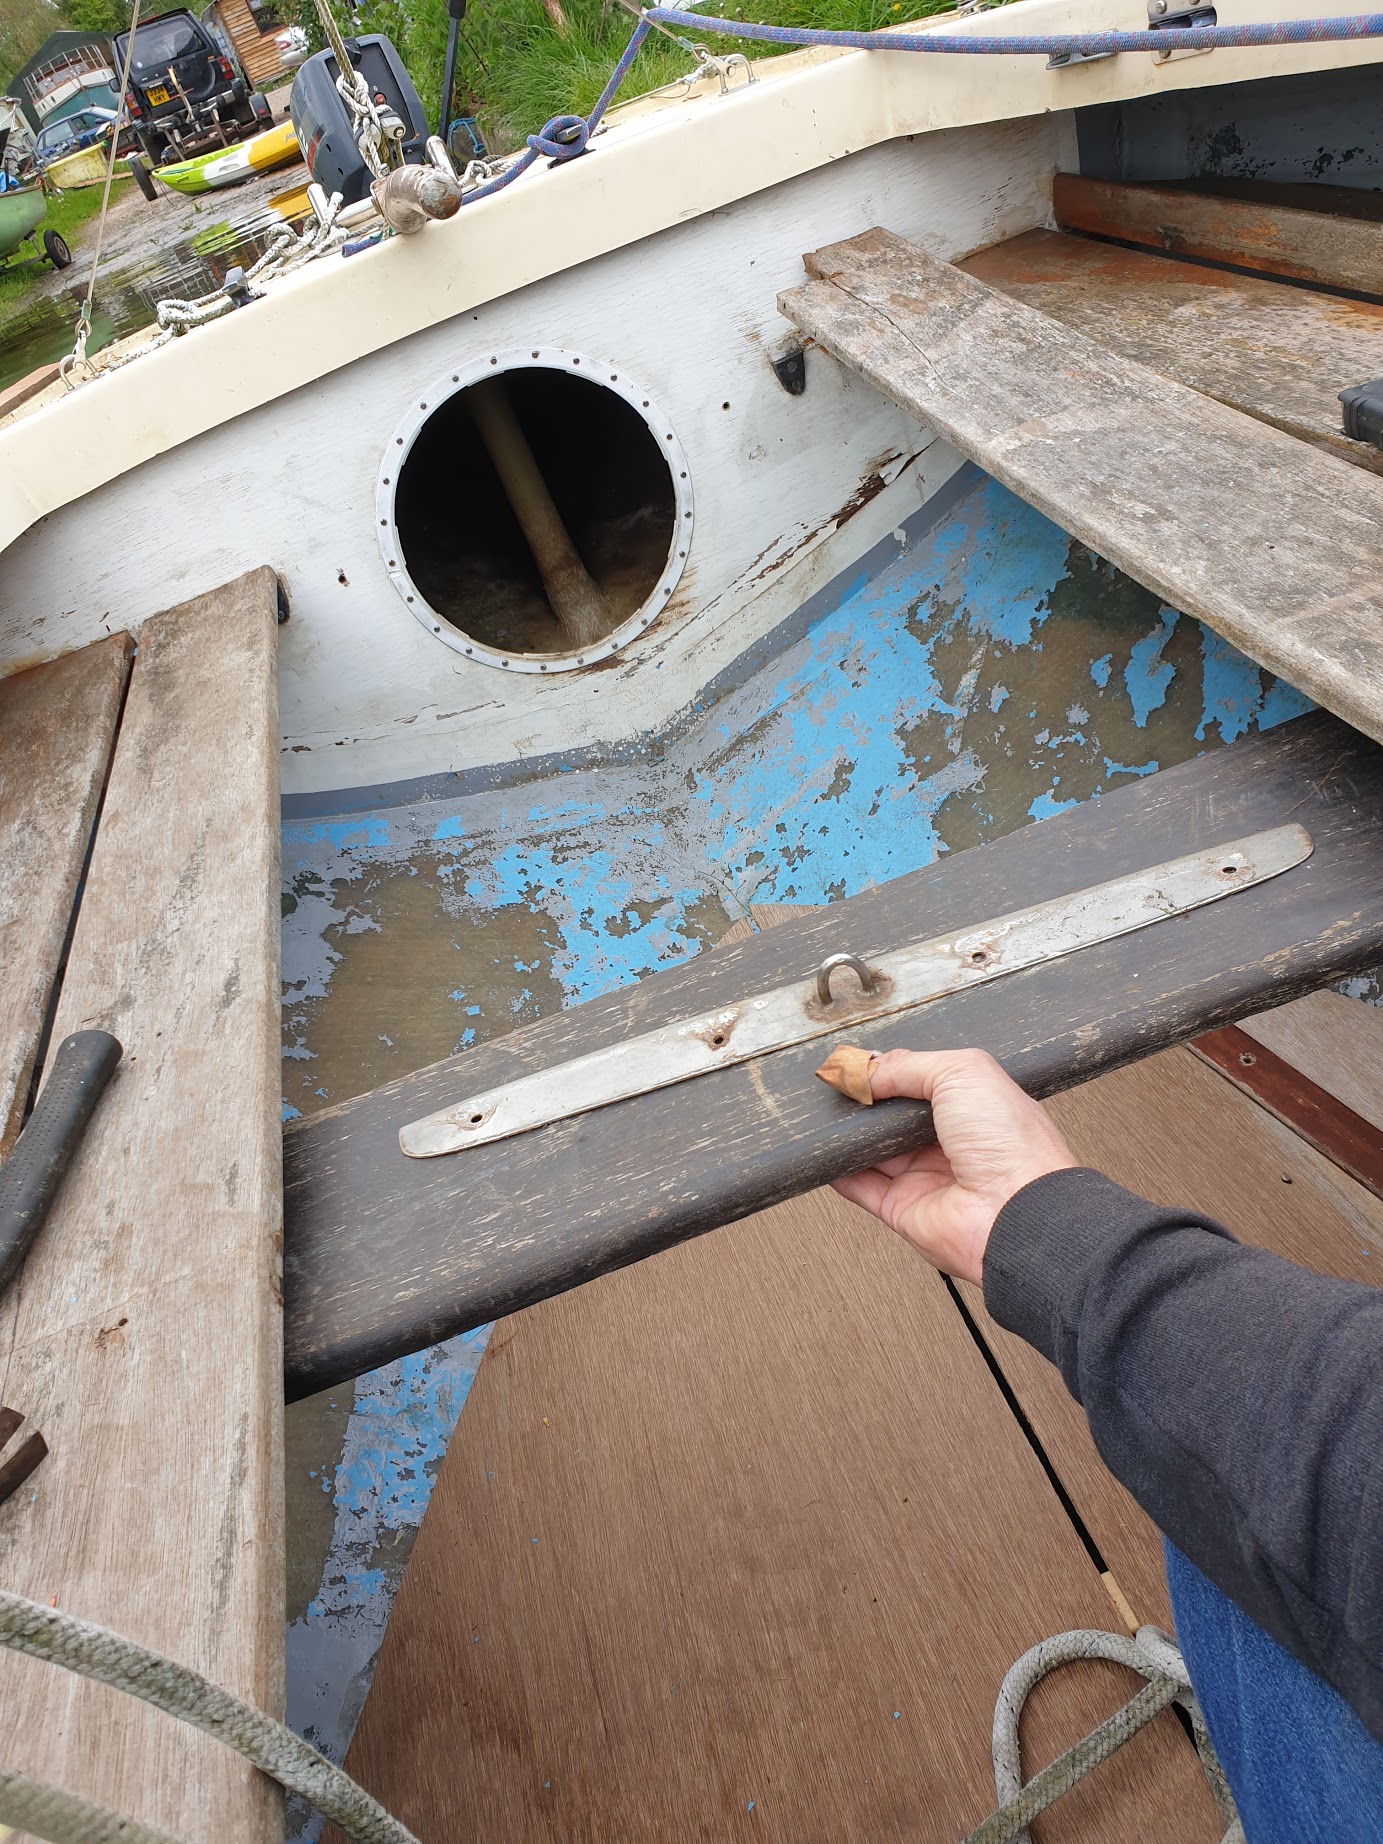 This photo shows what that could look like, with a metal eye I found… More thinking needed here.
To be continued